
Last updated October 17, 2026
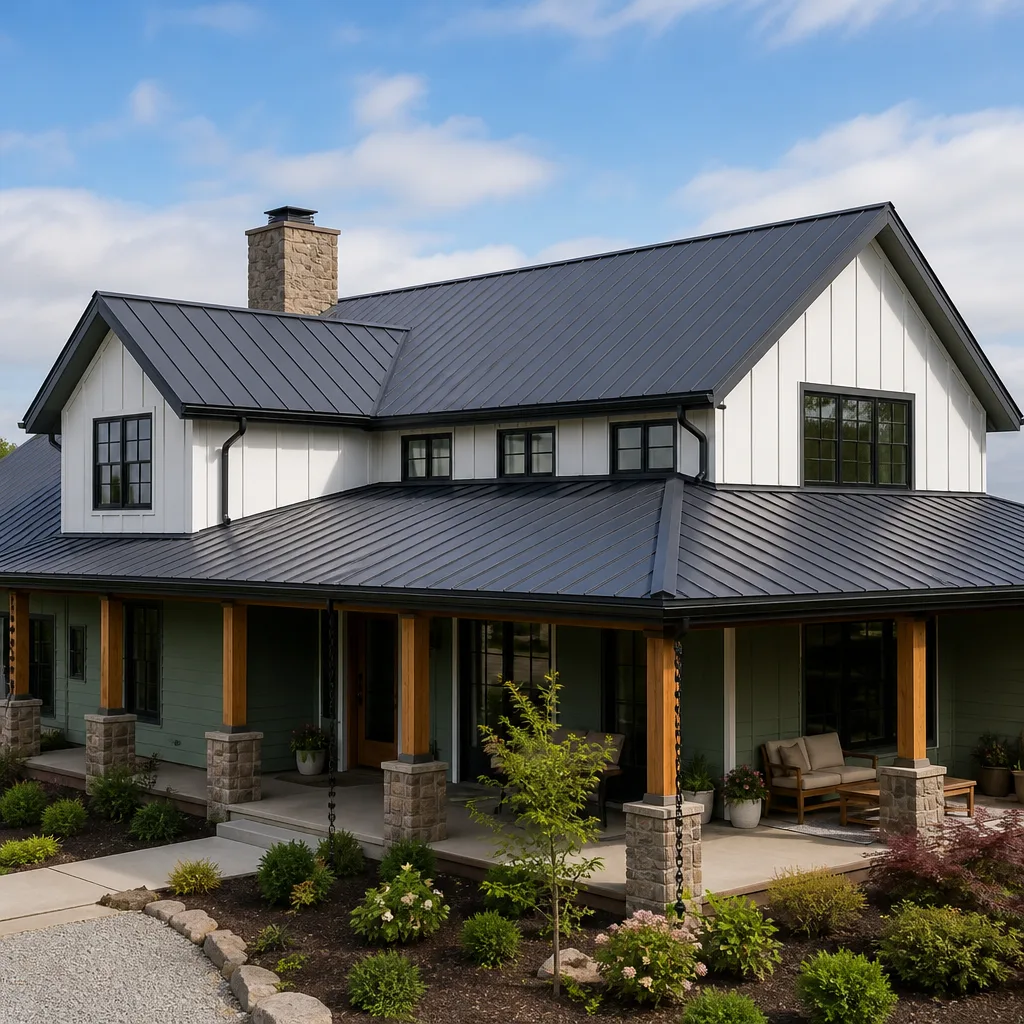 Metal roofing
 Architectural shingles
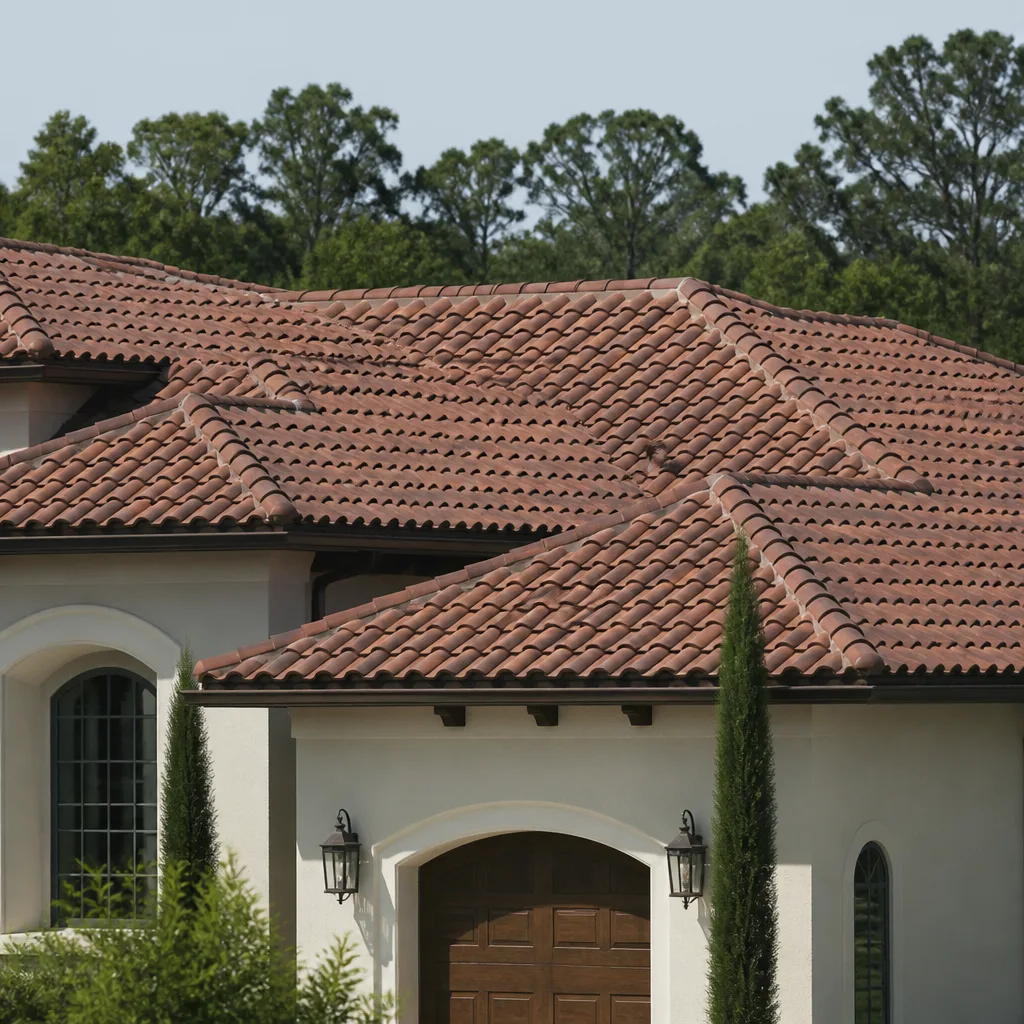 Tile roofing
 GAF
GAF Owens Corning
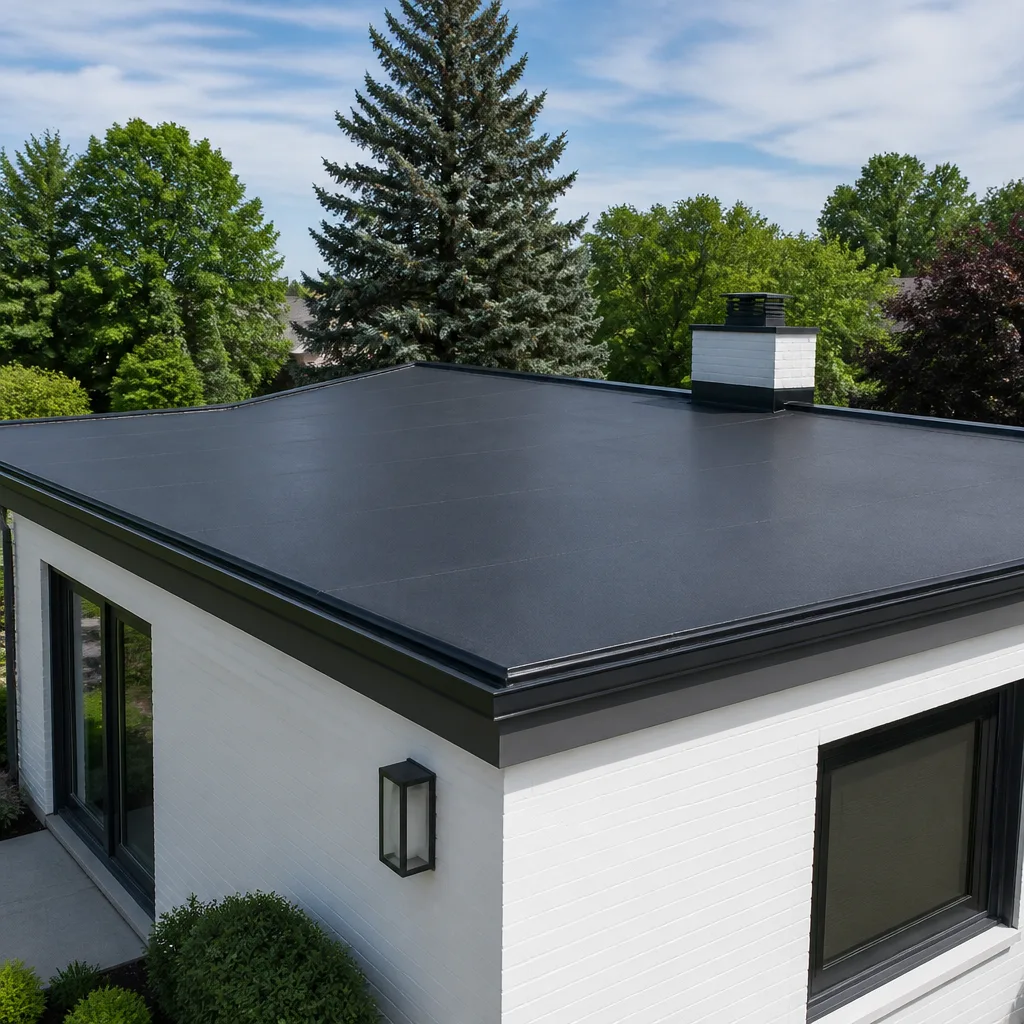 Flat & low-slope
Free roof inspection with deck photos before we talk money - GAF and Owens Corning certified installation
Roofing Warning Signs: A Santa Clarita Homeowner’s Reference Guide
By the time a Santa Clarita homeowner can see a roofing problem from the ground – curled shingles, visible sagging, daylight through the soffit – they’re already looking at a repair bill that’s two to three times what it would have been twelve months earlier. The reason is simple: most roofing failures start out of sight. Santa Clarita’s 280-plus days of sun, triple-digit summer heat, and the occasional ferocious Santa Ana wind event create a unique wear pattern that punishes roofs slowly, then suddenly. This Complete Guide to Roofing in Santa Clarita will teach you to look in the places that matter first – the attic, the gutters, the utility bill – so you catch damage when a repair costs hundreds, not thousands.
Quick Answer
The earliest roofing warning signs in Santa Clarita show up inside your attic (daylight through the deck, stained insulation, discolored sheathing) and in your gutters (granule accumulation from heat-driven shingle erosion), not on the roof itself. A homeowner who checks the attic twice a year and photographs what they find will catch most roof problems 12 to 18 months before leaks appear. If you see daylight, dark streaks on rafters, or granules in the gutter that look like coarse black sand, schedule a professional inspection rather than waiting for water damage.
Styles & brands we work with
Table of Contents
- Why the Attic Is Where Roofing Problems Start
- Granule Loss: What Your Gutters Are Telling You
- Flashing Failures on Santa Clarita Tile Roofs
- What Your Utility Bill Says About Your Roof
- The Documentation Habit: Photographing Warning Signs
- Exterior Signs Most Guides Miss
- Santa Clarita Seasonal Timing: When to Inspect
- Common Mistakes to Avoid
Why the Attic Is Where Roofing Problems Start
We’ve inspected thousands of roofs across Saugus, Valencia, Canyon Country, and Newhall, and the pattern is consistent: the attic tells the truth before the roof does. A shingle can look fine from the curb while the deck underneath is quietly absorbing moisture. Here are the three interior warning signs that show up months before anything is visible from outside.
Daylight penetration. Go into your attic on a sunny afternoon and turn off any lights. Let your eyes adjust for two full minutes. If you can see any pinpoints or slivers of light coming through the roof deck, that’s a hole – and a hole means water can get in. This is the single most reliable early warning sign a homeowner can find without spending a dime. Pay special attention to the area around roof penetrations: vents, chimneys, skylights, and the pipes that exit through the roof.
Insulation staining. Wet insulation is heavy, matted, and darker than dry insulation. Run your hand (wearing gloves) along the top of the insulation in a few spots. Dry insulation has a consistent color and spring; water-stained insulation will be darker with visible tide lines, like a ring left by a spilled drink. In Santa Clarita’s dry climate, homeowners often assume a small leak will just dry out. It won’t – the stain remains as evidence, and the moisture trapped against the deck starts a slow rot process that continues even after the visible water evaporates.
Sheathing discoloration. The plywood or OSB panels that form the roof deck should be a uniform tan or light brown. Dark streaks, black spots, or areas that look water-stained indicate that moisture has been sitting against the deck. In more advanced cases, you’ll see white fungal growth or rust on the fasteners. That rust is a big one – if every nail head in a section is rusting but the rest are clean, a roofer can pinpoint the exact leak path before ever going onto the roof.
If you’re not comfortable climbing into the attic, a Roof Repair in Santa Clarita inspection includes a full attic assessment with photos so you can see exactly what we see.
Granule Loss: What Your Gutters Are Telling You
Asphalt shingles are essentially a fiberglass mat coated in asphalt and embedded with ceramic granules. Those granules are the UV shield – they protect the asphalt from the sun’s radiation. Once they start falling off, the shingle’s clock is running. And Santa Clarita’s climate is unusually hard on granules.
Santa Clarita summers routinely push past 100°F, and roof surface temperatures run 40 to 60 degrees hotter than the air. That repeated thermal cycling – extreme heat by day, sharp cooling at night – accelerates granule loss more than any other single factor. Add Santa Ana wind events that can gust to 60 mph in some SCV canyons, and you get mechanical stripping on top of the thermal breakdown.
Here’s how to check your gutters and what the pattern tells you:
- Wait for a dry spell. Best time to check is after two to three weeks without rain, so you’re looking at accumulated granules rather than storm-washed debris.
- Examine the downspout splash blocks. Granules washed down from the roof collect in the splash block at the base of the downspout. If it looks like someone dumped coarse black sand there, your shingles are actively losing their UV protection.
- Look at the pattern, not just the volume. A small, consistent amount of granule loss in year one is normal settling. A heavy accumulation covering the entire gutter bottom, especially concentrated under one roof slope, indicates accelerated wear – usually the south-facing and west-facing slopes in Santa Clarita, which take the brunt of the afternoon sun.
- Look at the shingle itself. If you have a safe ground-level view (binoculars help), check whether the shingle color looks uneven or patchy. Bald spots indicate the asphalt is exposed and the shingle has lost most of its remaining life.
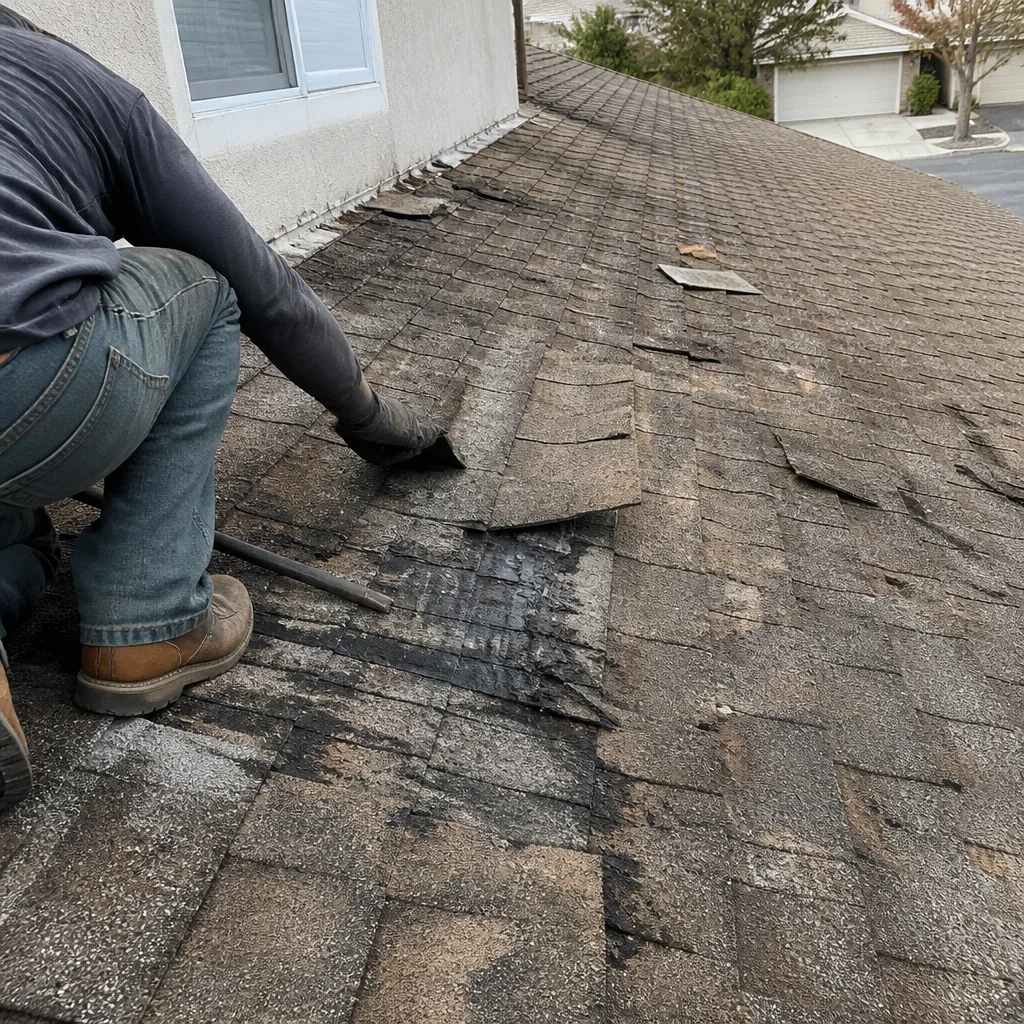
A roof shedding granules heavily is not immediately destined for replacement – but without that granule layer, the asphalt underneath oxidizes rapidly, and the shingle can go from functional to failed in two or three Santa Clarita summers. That’s the transition point from a repair conversation to a Roof Replacement in Santa Clarita conversation.
Flashing Failures on Santa Clarita Tile Roofs
Flashing is the metal that seals the joints where the roof meets something else – a chimney, a wall, a vent pipe, a valley where two slopes meet. In our experience, failed flashing is the number one source of interior water damage on Santa Clarita homes with tile roofs, and it almost never shows up as a visible leak first. The water enters through a small gap, travels along the underlayment, and shows up inside as a stain on the ceiling or a damp spot in a closet.
On tile roofs specifically, two things go wrong with flashing:
Cracked mortar at hips and ridges. Many tile roofs use mortar to bed the ridge caps and hip tiles. Santa Clarita’s summer heat bakes that mortar bone-dry, and the thermal expansion cycles cause it to crack. Once cracked, the mortar loses its grip, and wind or a hard rain can dislodge the cap tiles. The first warning sign is a hairline crack, visible from the ground along the ridge line or hip lines. The second is a small chunk of mortar in the gutter or on the patio below. Both are worth a professional look before the cap tile goes all the way off.
Lifted or separated counter-flashing. Around chimneys and wall intersections, flashing is installed in two parts: the step flashing attached to the roof, and the counter-flashing set into the masonry or wall sheathing that overlaps it. On Santa Clarita homes, the counter-flashing often lifts away from the wall due to heat expansion and repeated Santa Ana pressure cycles. Once lifted, water can run behind the flashing and into the wall cavity or the attic.
The telltale sign from the ground is a visible gap between the metal and the wall, or caulk that’s pulling away from the joint. Not all of these are catastrophic – a quick re-seal or re-secure may buy several more years – but an unrepaired lifted flashing in SCV’s wet season is a direct water pathway into the house.
What Your Utility Bill Says About Your Roof
Here’s the one most guides miss entirely: your roof talks to you through your air conditioning costs. In a Santa Clarita summer, a healthy roof and a properly ventilated attic keep the heat out of your house. A failing roof does the opposite.
The roof system is essentially a thermal barrier with three layers of defense: the roof covering (shingles or tile), the underlayment, and the ventilation that exhausts heat from the attic. When any of those layers degrades, more heat penetrates into the attic, and from there into your living space. Your AC works harder. Your bills go up.
Specific signals to look for:
- Year-over-year cooling cost increase with no change in usage. If your July bill is climbing compared to the same month last year, and you haven’t added occupants, square footage, or appliances, a degraded roof system or failed attic ventilation is a plausible culprit. This is especially true in Canyon Country and Newhall, where summer temperatures run at the upper end of the SCV range. CertainTeed and Owens Corning both publish studies showing that attic temperature directly drives cooling load, and a roof that reflects less heat (due to granule loss on asphalt shingles) or a ventilation system that’s clogged will raise attic temps by 20 to 40 degrees.
- Rooms that won’t cool evenly. If one upstairs bedroom is always 8 to 10 degrees hotter than the rest of the house even with the AC running, check the attic directly above that room first. We frequently find the roof deck over that zone is compromised, or the insulation under that deck section is compressed and water-stained.
- A warm ceiling to the touch. On a hot Santa Clarita afternoon, walk through your house and place a hand flat on the ceiling. If some areas feel noticeably warmer than others, that’s radiant heat transferring through the deck into the living space below. That warmth is what your AC is fighting.
None of these signs is a leak. That’s the point – by the time water actually comes through, the roof has been failing for a year or more. Energy bill changes and uneven temperatures are the early-warning system that’s free to read, if you know what you’re looking at.
The Documentation Habit: Photographing Warning Signs
Insurance adjusters and roofing contractors rarely argue with a dated photograph. They argue with a homeowner’s memory of what something looked like six months ago. Building a simple documentation habit will pay for itself the first time you file a claim or dispute a contractor’s assessment.
Here’s the routine we recommend for Santa Clarita homeowners:
- Set a twice-a-year inspection reminder. Put it in your phone: once in late spring (after the wet season), once in late fall (before the rains return). Santa Clarita’s seasonal pattern – dry most of the year, rain concentrated in November through March – means these two dates bracket the weather that does the most damage.
- Photograph the same spots every time. From the ground, shoot the four roof slopes at the same distance and angle. From inside, shoot the attic deck in the same zones. Consistency is what makes comparison useful. Your phone’s timestamp and geotag do the rest.
- Create a folder called “Roof” in your phone or cloud drive. Every inspection, drop the photos there. Don’t curate. A simple chronological record of “what the roof looked like on this date” is exactly what an adjuster needs to see damage progression over time.
- Photograph the repair, not just the problem. After any roof work is done, request before and after photos from the contractor. At Crestview, The Relay Standard includes before and after photo documentation on every single job – it’s part of how we’ve operated since 2000 – so you’re never guessing what was done under the shingles.
This habit does two things: it creates a dated baseline that proves when damage appeared (helpful when an insurance adjuster tries to claim the damage pre-dates the policy or that it’s “wear and tear”), and it gives any roofer a precise starting point for diagnosis instead of a verbal description. Which means a more accurate estimate, faster.
Exterior Signs Most Guides Miss
Now that we’ve covered the interior and financial signals, let’s talk about the things you can see from the ground that most guides either skip or get wrong. These are the subtle exterior warning signs specific to how Santa Clarita roofs fail.
Shingles with a “washed out” appearance. Not curled. Not cracked. Just… faded and thin near the edges. That’s granule loss at the seal line, where the shingle overlaps the one below. In our experience with Atlas and IKO shingles in SCV’s heat, this edge degradation precedes failure by 3 to 5 years on south-facing slopes, and it’s one of the strongest signals that a roof is in its final third of life.
Nail pops pushing up through the shingles. A small bump on a shingle surface, especially after a hot summer, often means a nail is working its way up from the deck. Heat expansion pushes the fastener, and the nail head can penetrate the shingle above it over time. Each popped nail is a potential water entry point. On a 10-square roof area, we’ll sometimes see 10 to 15 nail pops in the first five years on the hot slopes.
Stains on stucco walls below the roofline. These look like dark drip marks trailing down from the drip edge or the fascia. What they actually indicate is that water is running over the roof edge where it shouldn’t – often because debris is damming the flow or the drip edge flashing has pulled loose. On Santa Clarita homes with stucco exteriors, these stains can travel a long way down the wall before anyone notices.
Granule “striping.” On some asphalt shingle roofs, you’ll see alternating light and dark bands running horizontally across the slope. The light bands are where granules are thinnest. This pattern is often caused by inconsistent mat adhesion from the manufacturer – but by the time it’s visible from the street, the shingles on those light bands are failing faster than the rest of the roof. Atlas and CertainTeed both have warranty provisions for this, but only if the homeowner documents it early.
Tile slipping out of alignment. On concrete or clay tile roofs, a single tile that’s dropped half an inch out of line is an early signal that the fasteners or the batten under that tile have degraded. Tiles on Santa Clarita roofs are typically fastened with nails or screws at the top, and a slipped tile often means that fastener has rusted through. It’s a ten-minute fix when caught early; a full tile replacement section when ignored for a year.
Santa Clarita Seasonal Timing: When to Inspect
Santa Clarita’s climate follows a specific rhythm, and your inspection schedule should follow it. Our Seasonal Roofing Care for Santa Clarita: Year-Round Homeowner’s Guide covers what to do, and when.
Late October to early November. This is the most important inspection of the year. The rains typically arrive in November, and any roof weakness – cracked flashing sealant, a loose tile, a clogged valley – will turn into a leak as soon as the first real storm hits. Inspect in late October, schedule repairs for the first two weeks of November, and the roof is buttoned up before the wet season starts. A Roof Installation in Santa Clarita or repair booked in October is the cheapest insurance you can buy for a house in the SCV.
Late April to early May. This is the post-rain assessment. Look for anything the winter exposed: stains that appeared, granules the storms washed down, tiles that shifted. This inspection catches damage early and gives you the summer to get it fixed on your schedule, not on an emergency basis when the next storm is in the forecast.
After any Santa Ana event over 40 mph. Santa Anas rip off loose tiles, fold back lifted flashing, and scour granules from already-thin shingles. If you’ve had a wind event that knocked over trash cans or brought down tree limbs, give the roof a visual pass the next morning. You’re looking for anything out of place: a tile on the ground, a shingle in the yard, a new gap at the ridge.
Before solar installation. If you’re considering solar panels on a Santa Clarita home, inspect the roof first. A solar company will happily install panels on a roof with five years of life left, but then the panels have to come off when the roof needs replacing, and that adds $3,000 to $6,000 to the project. A pre-solar roof assessment tells you whether to replace the roof first or whether the existing roof will outlast the panels.
Common Mistakes to Avoid
- Only checking the roof after it rains. Santa Clarita’s dry climate means a roof can be failing for months with no rain to reveal the leak. Interior checks and gutter granule checks work in any weather, and they catch problems before water has a chance to prove the point.
- Assuming tile roofs don’t leak “because they’re tile.” This is the biggest myth we hear from homeowners in Valencia and Stevenson Ranch. Tile sheds water, but the underlayment underneath tile is what actually waterproofs the house – and underlayment degrades over time. In our experience, underlayment on a 25-year-old tile roof in Santa Clarita’s heat can be completely shot while the tile above still looks new from the street.
- Caulking over flashing instead of fixing it. A bead of silicone over a lifted counter-flashing is a temporary bandage, not a repair. The caulk fails within a season or two, and by then the water has already been getting behind the flashing for longer. Fix the flashing; don’t caulk around it.
- Ignoring a small stain on the ceiling “to see if it gets worse.” By the time a ceiling stain is visible inside a Santa Clarita home, water has already traveled through the deck and the insulation. The damage behind the drywall is worse than what you can see. A small stain today is a deck replacement tomorrow.
- Getting one quote and accepting it without understanding what’s included. We can’t tell you how many times we’ve been the second quote after a homeowner got a suspiciously low first quote with no breakdown of materials, no warranty terms, no written scope. Ask every roofer for a written, line-item quote before any work starts. If they won’t put it in writing, that’s your answer.
- Climbing onto a tile roof to inspect it yourself. Tile is brittle, and walking on it wrong breaks tiles that then have to be replaced. It’s also genuinely dangerous – the pitch on many SCV homes is steep enough that a fall is a serious injury. Ground-level inspection, gutter checks, and attic checks are safe to do yourself. Leave the on-roof inspection to a professional with the right equipment and training.
- Delaying documentation because “nothing looks wrong yet.” The baseline photos you take today are what prove damage progression six months from now. Don’t wait for a problem to start the documentation habit. Start this week.
See the difference
 Before
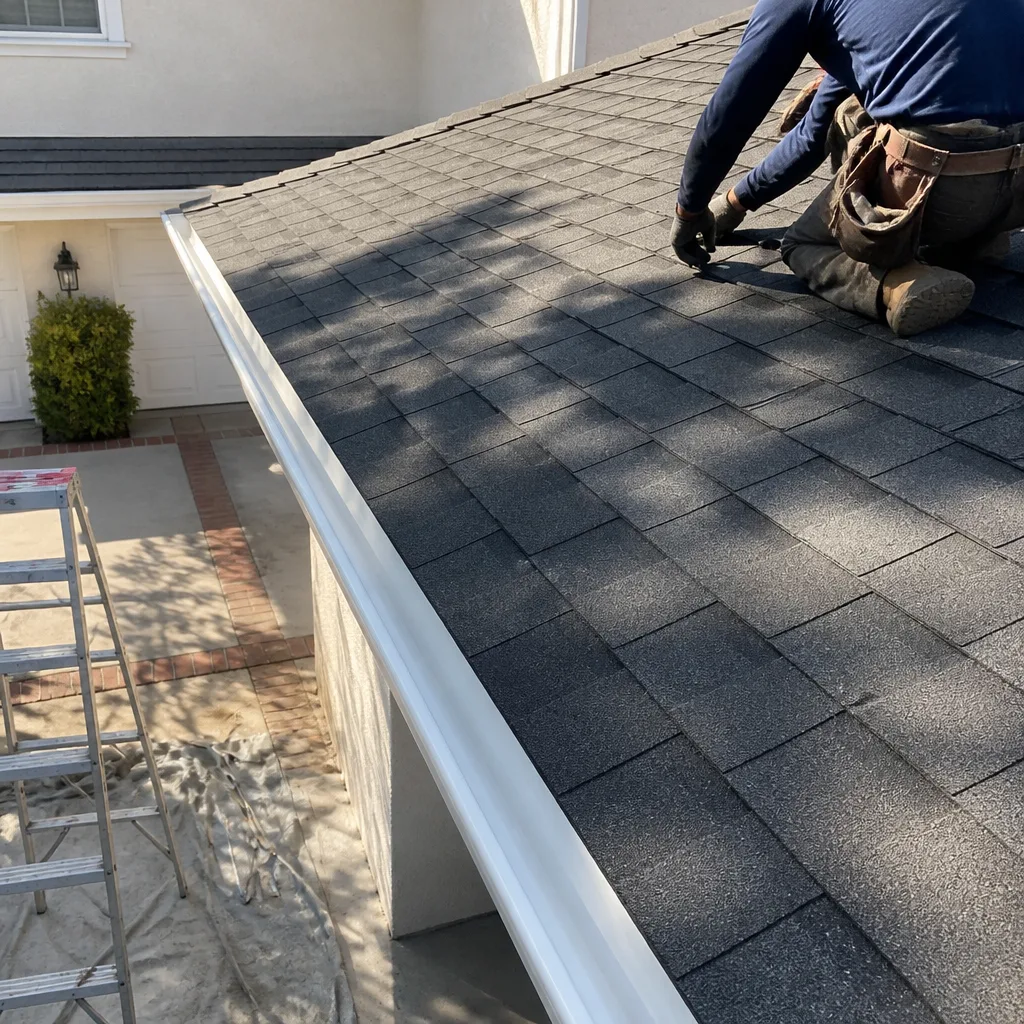 After
After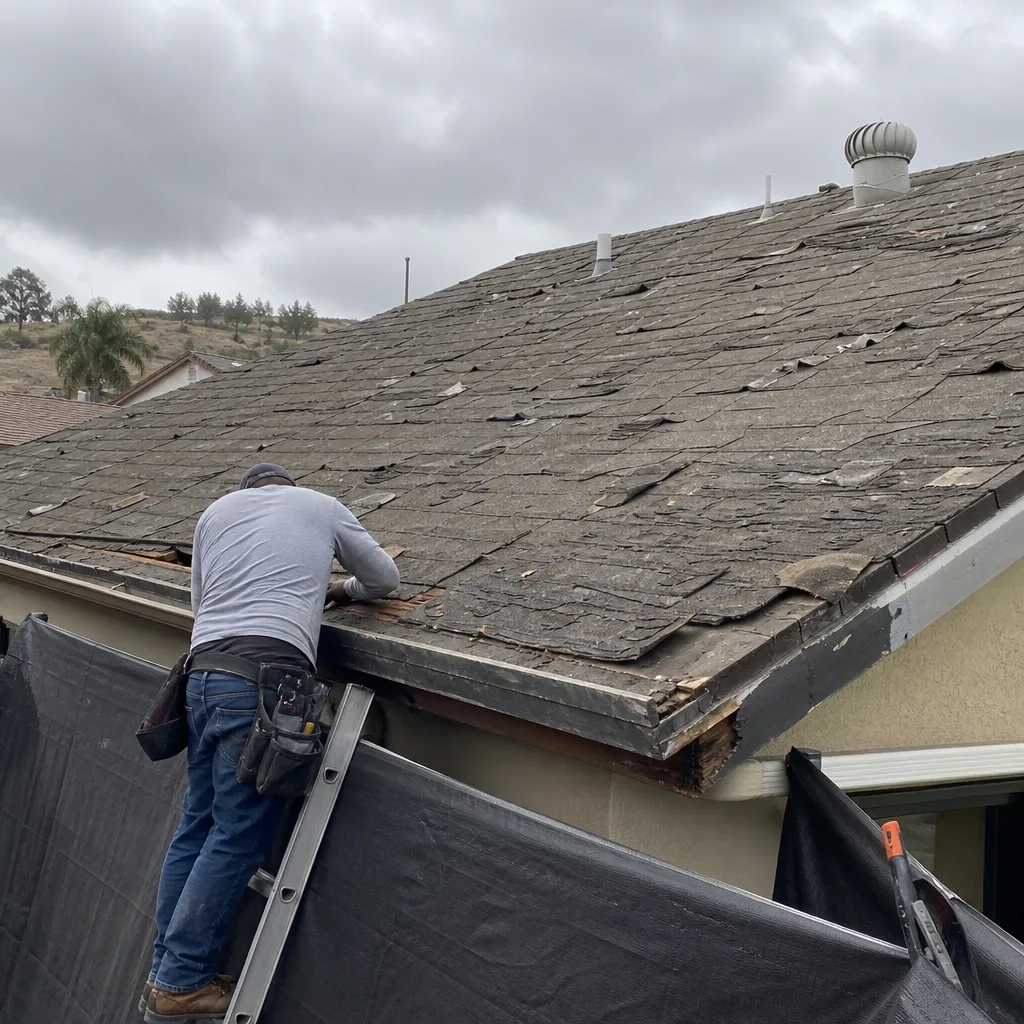 Before
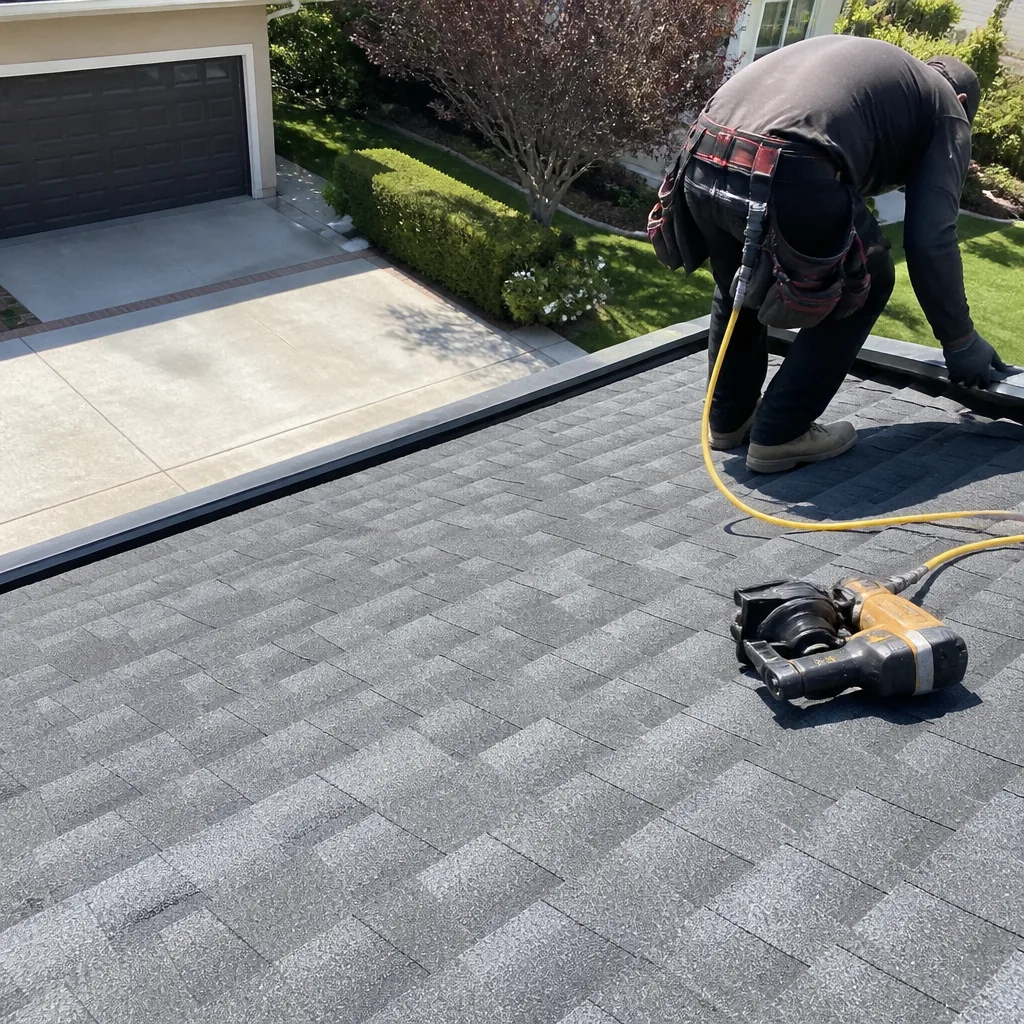 After
After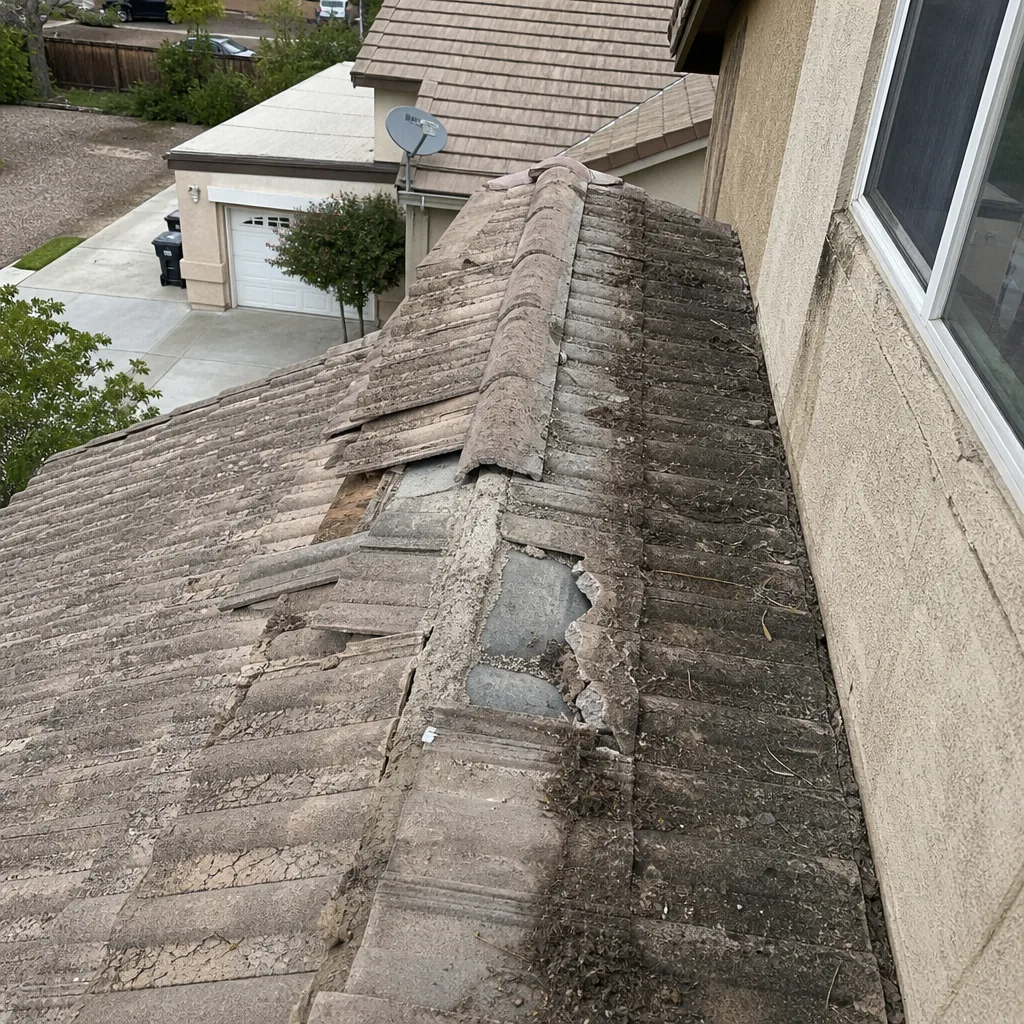 Before
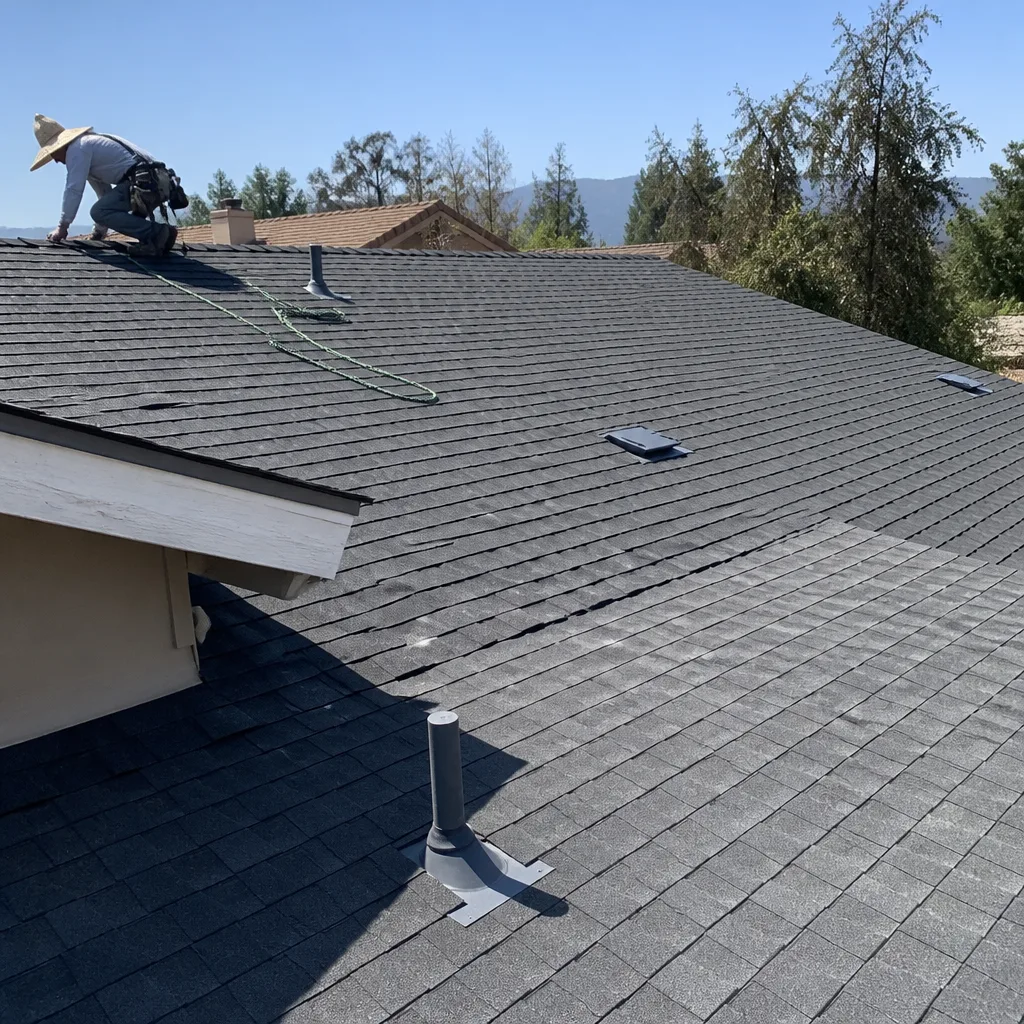 After
AfterWhen to Call a Professional
Some things you can handle from the ground: inspecting gutters, checking for tile in the yard, photographing the roof slopes, walking the attic. But there are clear thresholds where a professional is the right call, and saving the inspection fee by skipping it is the most expensive decision a homeowner can make. See our DIY vs Professional Roofing: The Santa Clarita Homeowner’s Decision Guide for help deciding.
Call a roofer if you see any daylight through the attic deck, if the gutters are accumulating heavy granules from specific slopes, if you have a cracking ridge mortar or lifted flashing, or if your cooling bills have spiked with no other explanation. Call a roofer if you suspect anything and you’re not sure – the inspection cost is trivial compared to the damage an undiagnosed leak will do. And call a roofer after any Santa Ana event that left debris in the yard or tiles out of place. Crestview Roofing Co Santa Clarita offers free estimates in Santa Clarita – call (661) 219-7793 and we’ll send a uniformed, background-checked technician with a written quote before any work starts, backed by The Relay Visibility Guarantee and our 365-Day Done Right Promise.
Frequently Asked Questions
Inspecting your roof twice a year – once in late October before the rains arrive and once in late April after the wet season ends – is the right rhythm for Santa Clarita’s Mediterranean climate, plus a quick visual check after any significant Santa Ana wind event. Each inspection takes 20 to 30 minutes from the ground and attic, and the photos you take create the dated record that helps with insurance and repairs. Call (661) 219-7793 if either inspection turns up anything suspicious and we’ll take a professional look at no cost.
Granules in your gutter look like coarse black or dark gray sand that collects in the gutter trough and at the downspout splash block – a heavy accumulation across the entire gutter bottom indicates accelerated shingle wear, especially on the hotter south and west roof slopes in Santa Clarita. A light, even dusting in year one or two is normal; a thick layer the consistency of playground sand is not. If you’re seeing heavy granule accumulation, call (661) 219-7793 for a free assessment before the shingles lose more protection.
Yes, in most cases flashing can be repaired or replaced independently of the roof covering, and it’s one of the most cost-effective repairs a Santa Clarita homeowner can make – cracked or lifted flashing around chimneys, vents, and wall intersections is the number one source of interior water damage on local tile roofs. The repair typically costs a few hundred dollars versus the thousands in interior damage an unrepaired flashing failure can cause. We’ll quote any flashing repair in writing before work starts, so you know the exact price going in – call (661) 219-7793.
Most early-stage repairs in Santa Clarita – resealing lifted flashings, replacing a handful of slipped or cracked tiles, re-securing nail pops, clearing clogged valleys – run between $350 and $850 depending on access, roof pitch, and the number of problem spots found. That’s a fraction of the $8,000 to $18,000 a full roof replacement in Santa Clarita typically costs, which is why early detection through attic checks and gutter monitoring matters so much. For an exact written quote on your roof, call (661) 219-7793 – estimates are free, and the price on the estimate is the price on the invoice.
Many roofing companies in Santa Clarita charge $150 to $300 for a professional roof inspection, while some – including Crestview Roofing Co Santa Clarita – offer free estimates that include a thorough assessment of roof condition with photo documentation. When you schedule with us, you’ll get a written breakdown of what we found, what needs attention now, what can wait, and what the repairs will cost – all before any work begins. Call (661) 219-7793 to schedule yours.
Whether insurance covers your roofing damage depends on the cause – sudden damage from a Santa Ana wind event, falling tree, or hail is typically covered, while gradual wear and tear from Santa Clarita’s heat and sun is generally not – which is exactly why documenting warning signs with dated photographs is so important when you file a claim. Insurance adjusters respond to evidence of a specific event, and your photo record is the strongest evidence you can provide. Our team can help you understand what your documentation shows and what a fair repair or replacement looks like; call (661) 219-7793 for a free assessment.
The Bottom Line
Your roof tells you it’s failing long before water pours through the ceiling – through daylight in the attic, granules in the gutters, heat on the ceiling, and rising cooling bills. The Santa Clarita homeowners who catch these signs early pay hundreds for repairs that cost thousands when ignored. Check the attic twice a year, photograph everything with timestamps, and don’t guess about what you find. When something looks off, a professional assessment with a written, line-item quote is the fastest way to know exactly where you stand. For more guides & resources or a free estimate in Santa Clarita, call (661) 219-7793.
Written by Dylan Pace, Owner at Crestview Roofing Co Santa Clarita, serving Santa Clarita since 2000.